 1:33
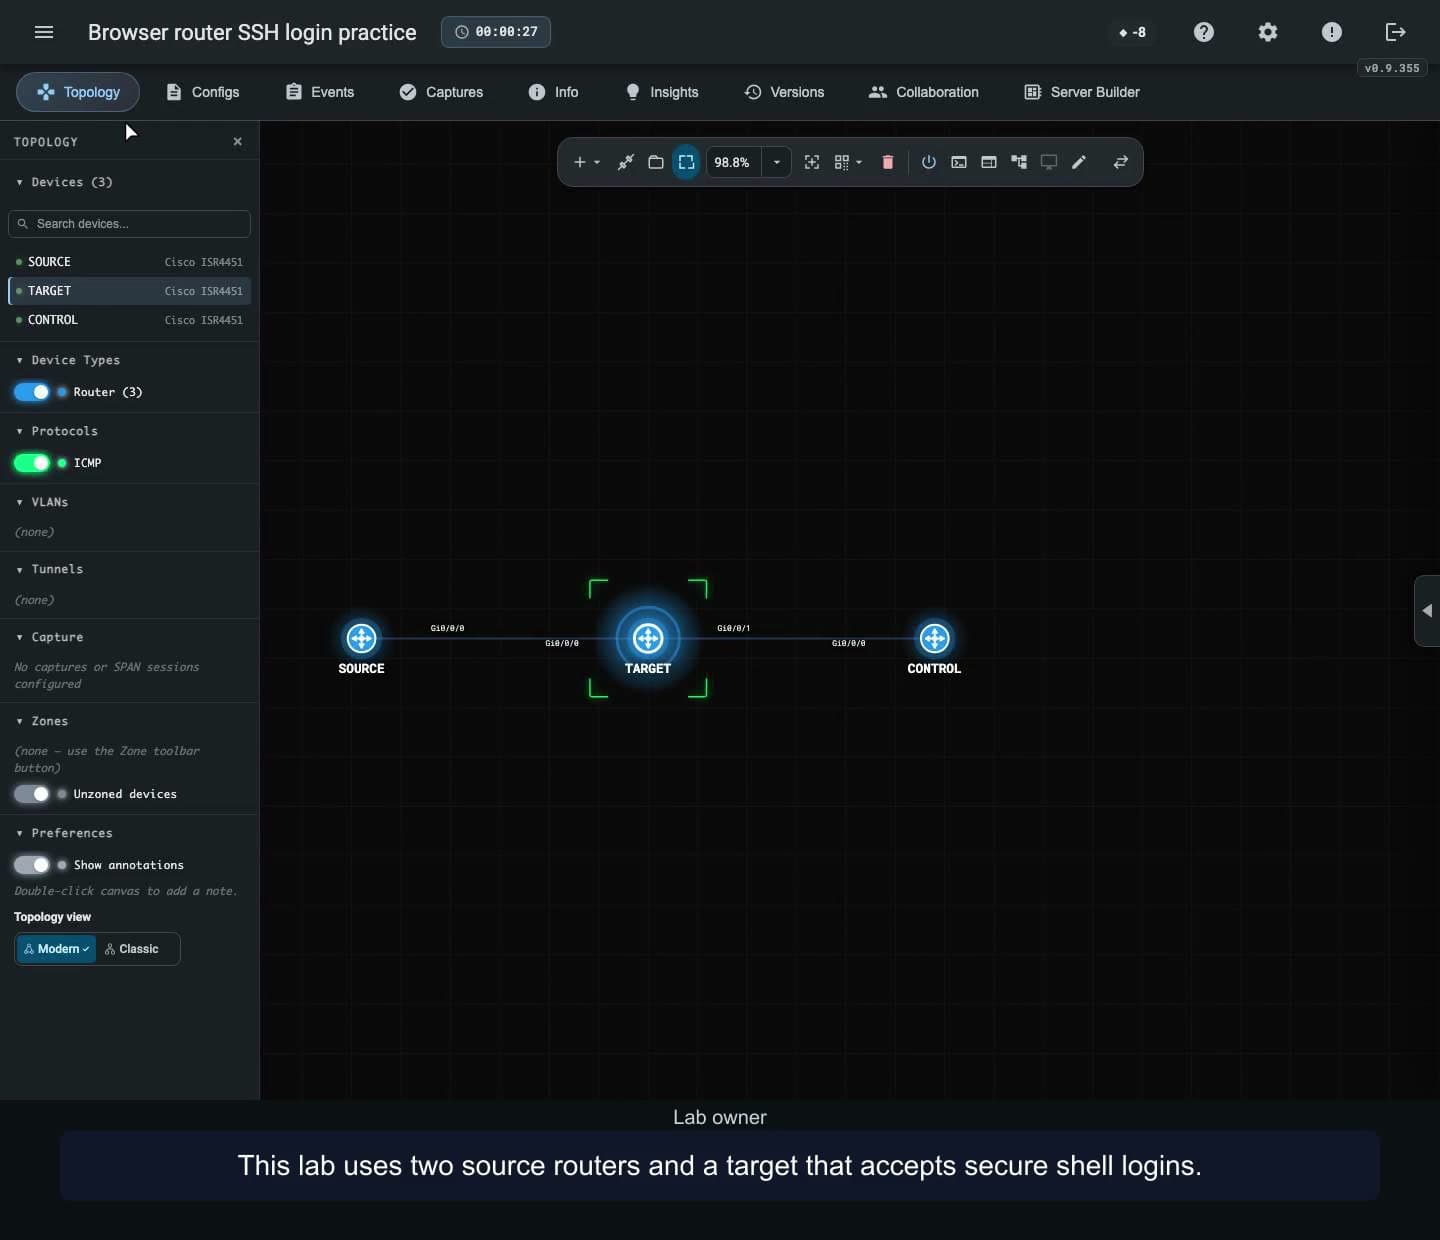
Open a device-to-device SSH session
Open an SSH session from one Cisco IOS XE router to another, verify the remote privilege level, and test source restrictions.
WATCH. LEARN. TRY IT.
See how to use nuLAB, one workflow at a time. Watch every episode without signing in.
1:33Open an SSH session from one Cisco IOS XE router to another, verify the remote privilege level, and test source restrictions.
 2:30
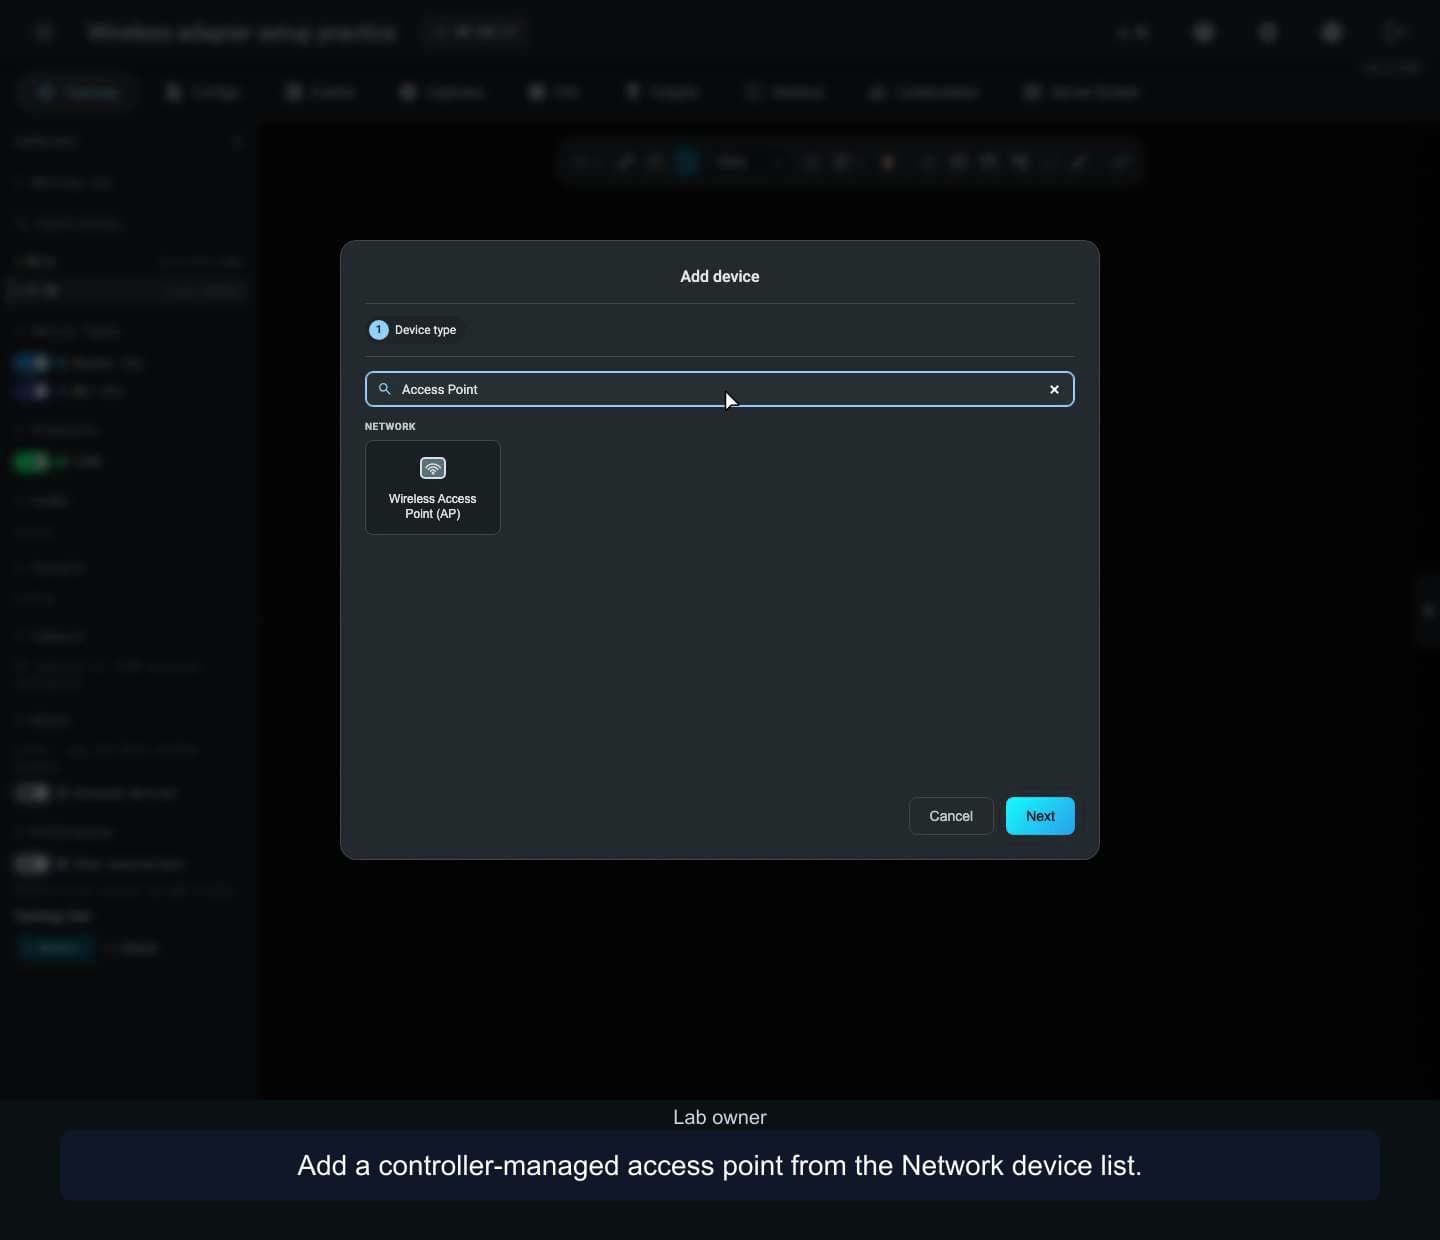
Add a controller-managed access point, choose optional Linux PC and Server wireless adapters, and connect two Server interfaces to separate SSIDs.
 1:52
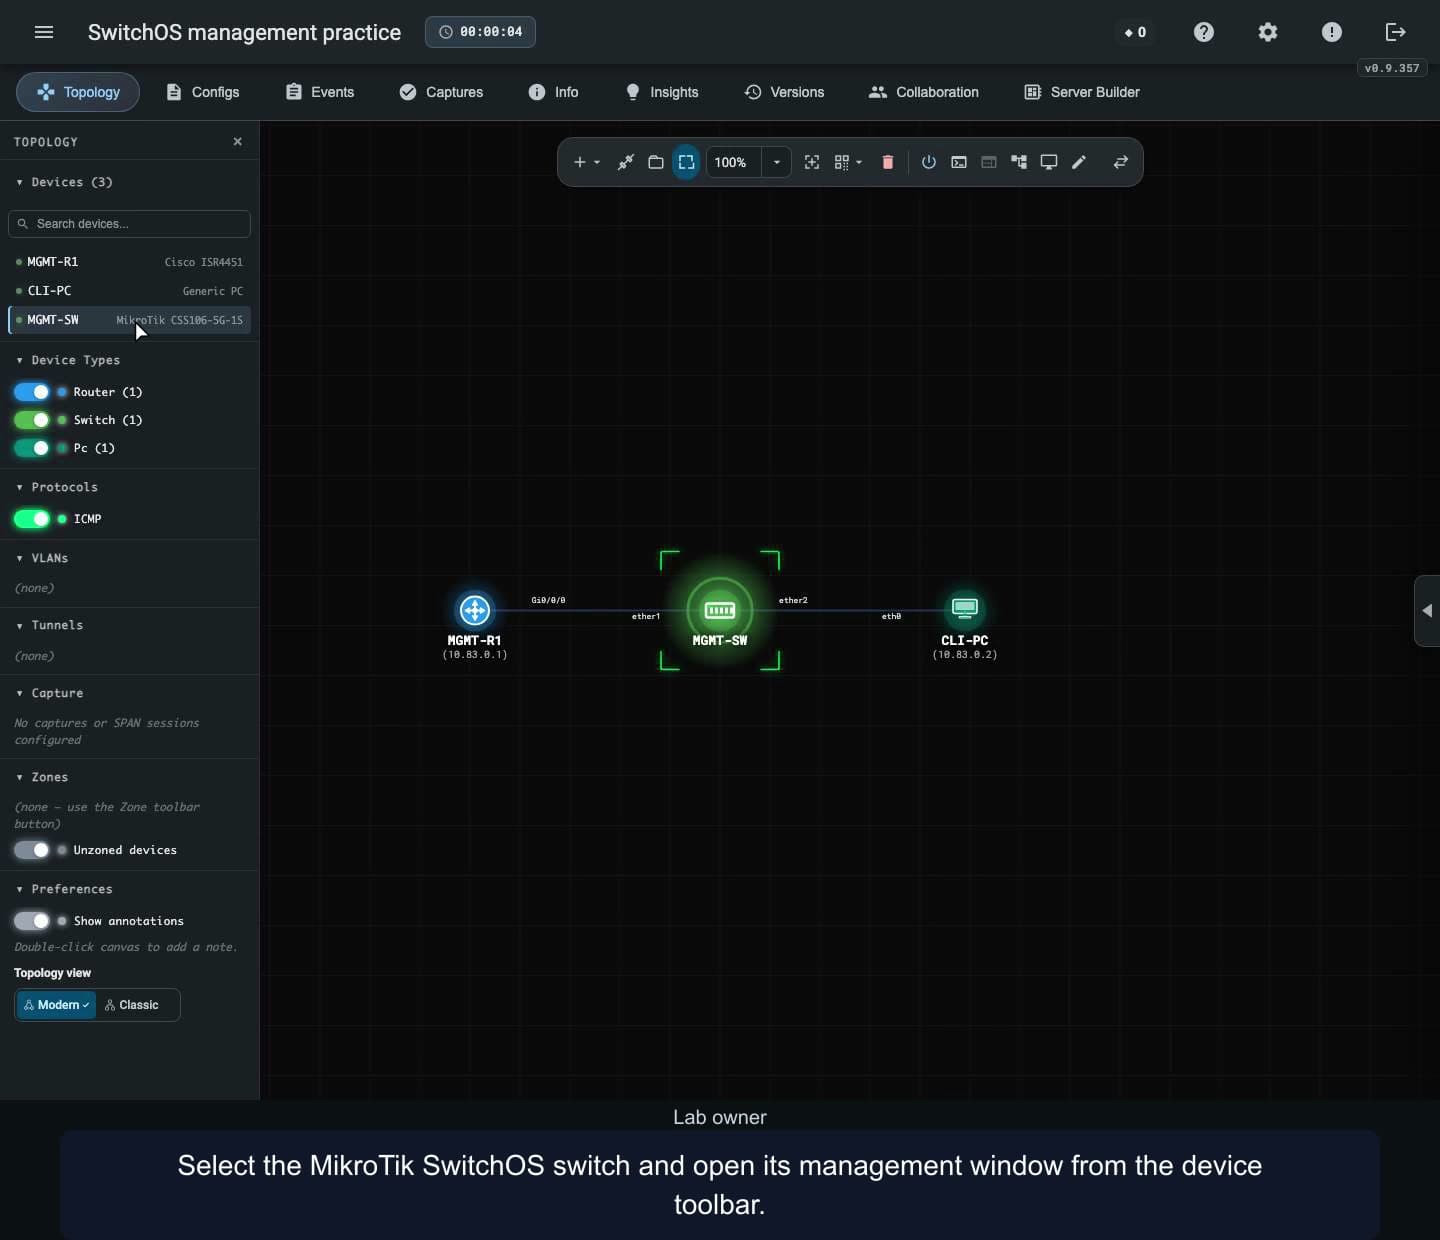
Open MikroTik SwOS management in a practice lab, test a port change, inspect VLANs, and save the switch identity.
 1:32
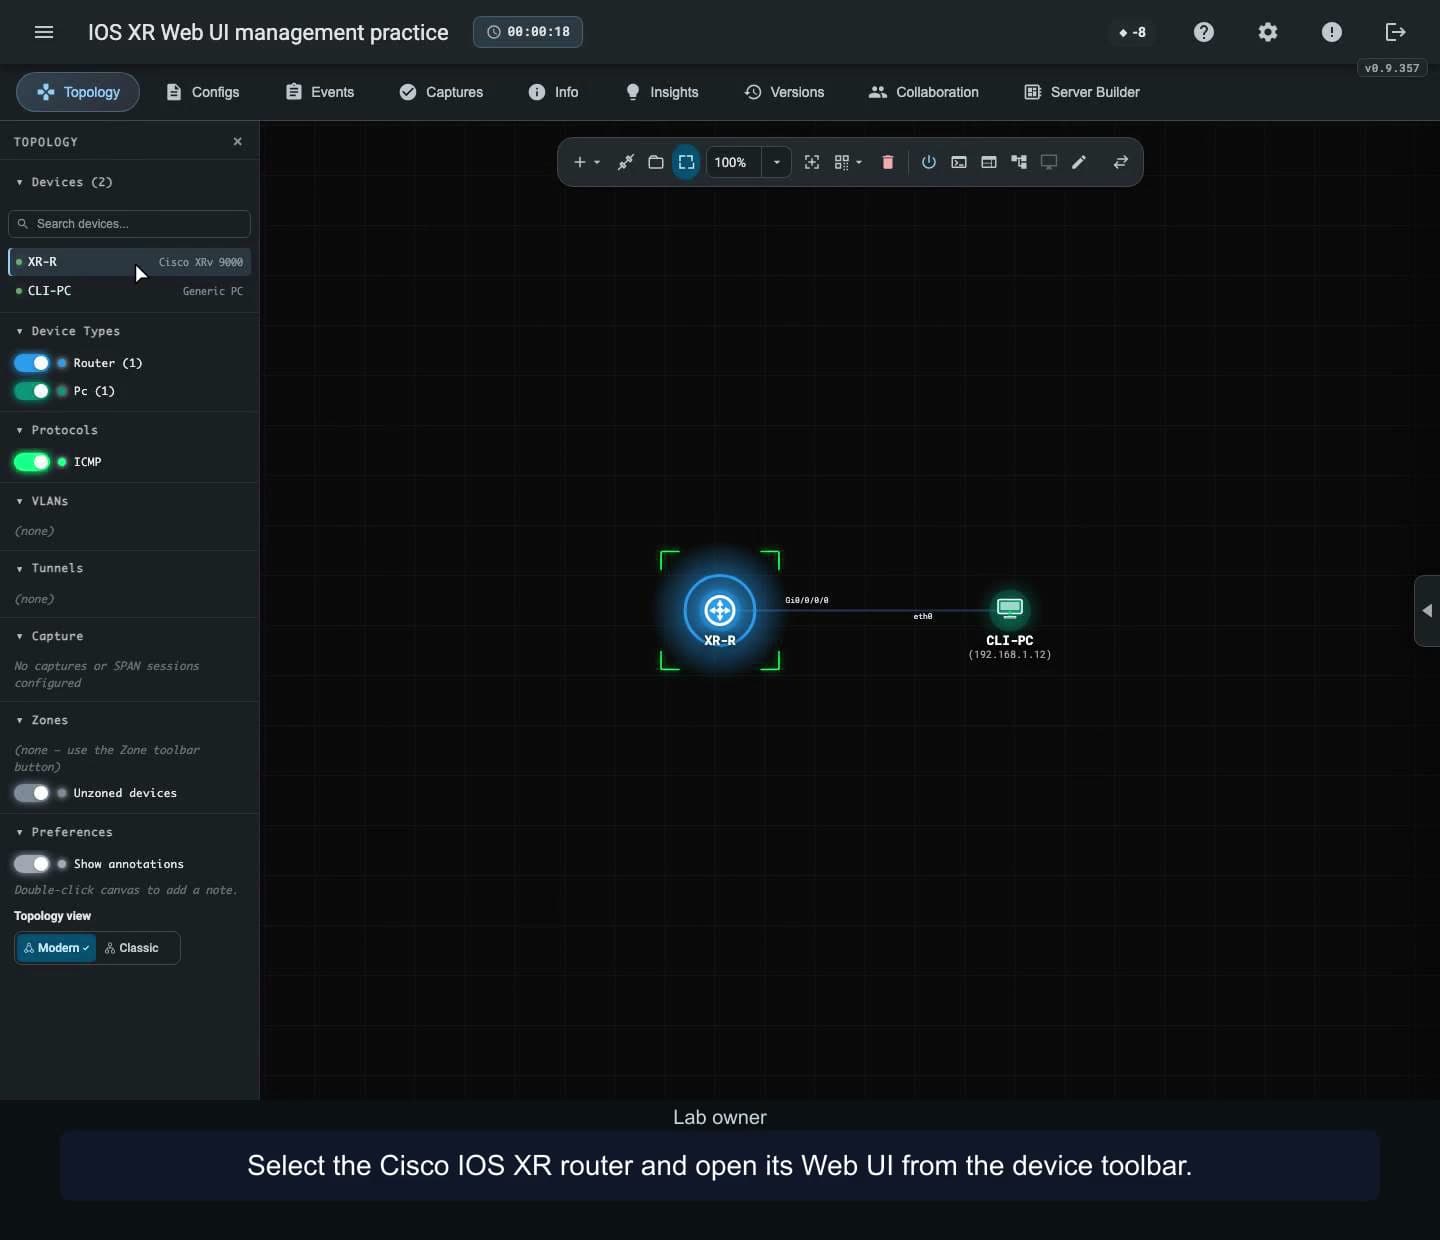
Use the Cisco IOS XR Web UI to update an interface description and inspect a static route. Verify the results in the router terminal and reopen the lab to check the saved edit.
 2:30
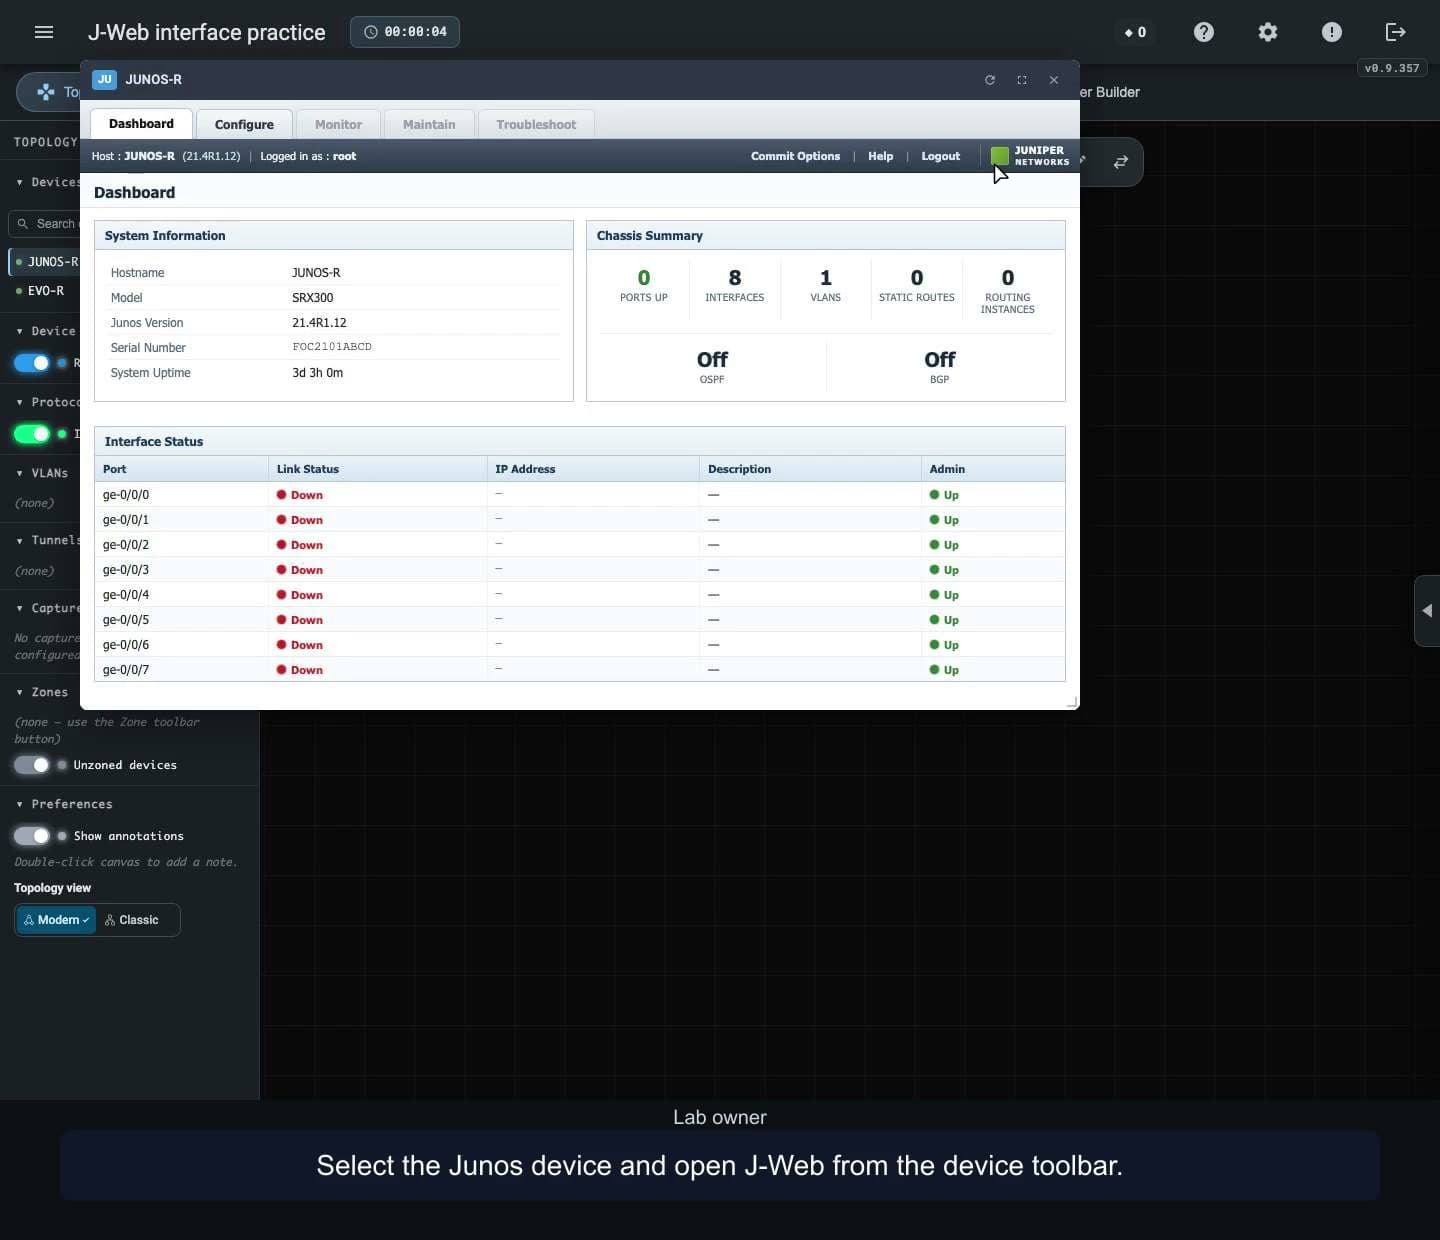
Stage and commit an interface description in Juniper J-Web. Compare the running configuration before and after the edit, then confirm the change on Junos and Junos Evolved after reopening the lab.
 1:25
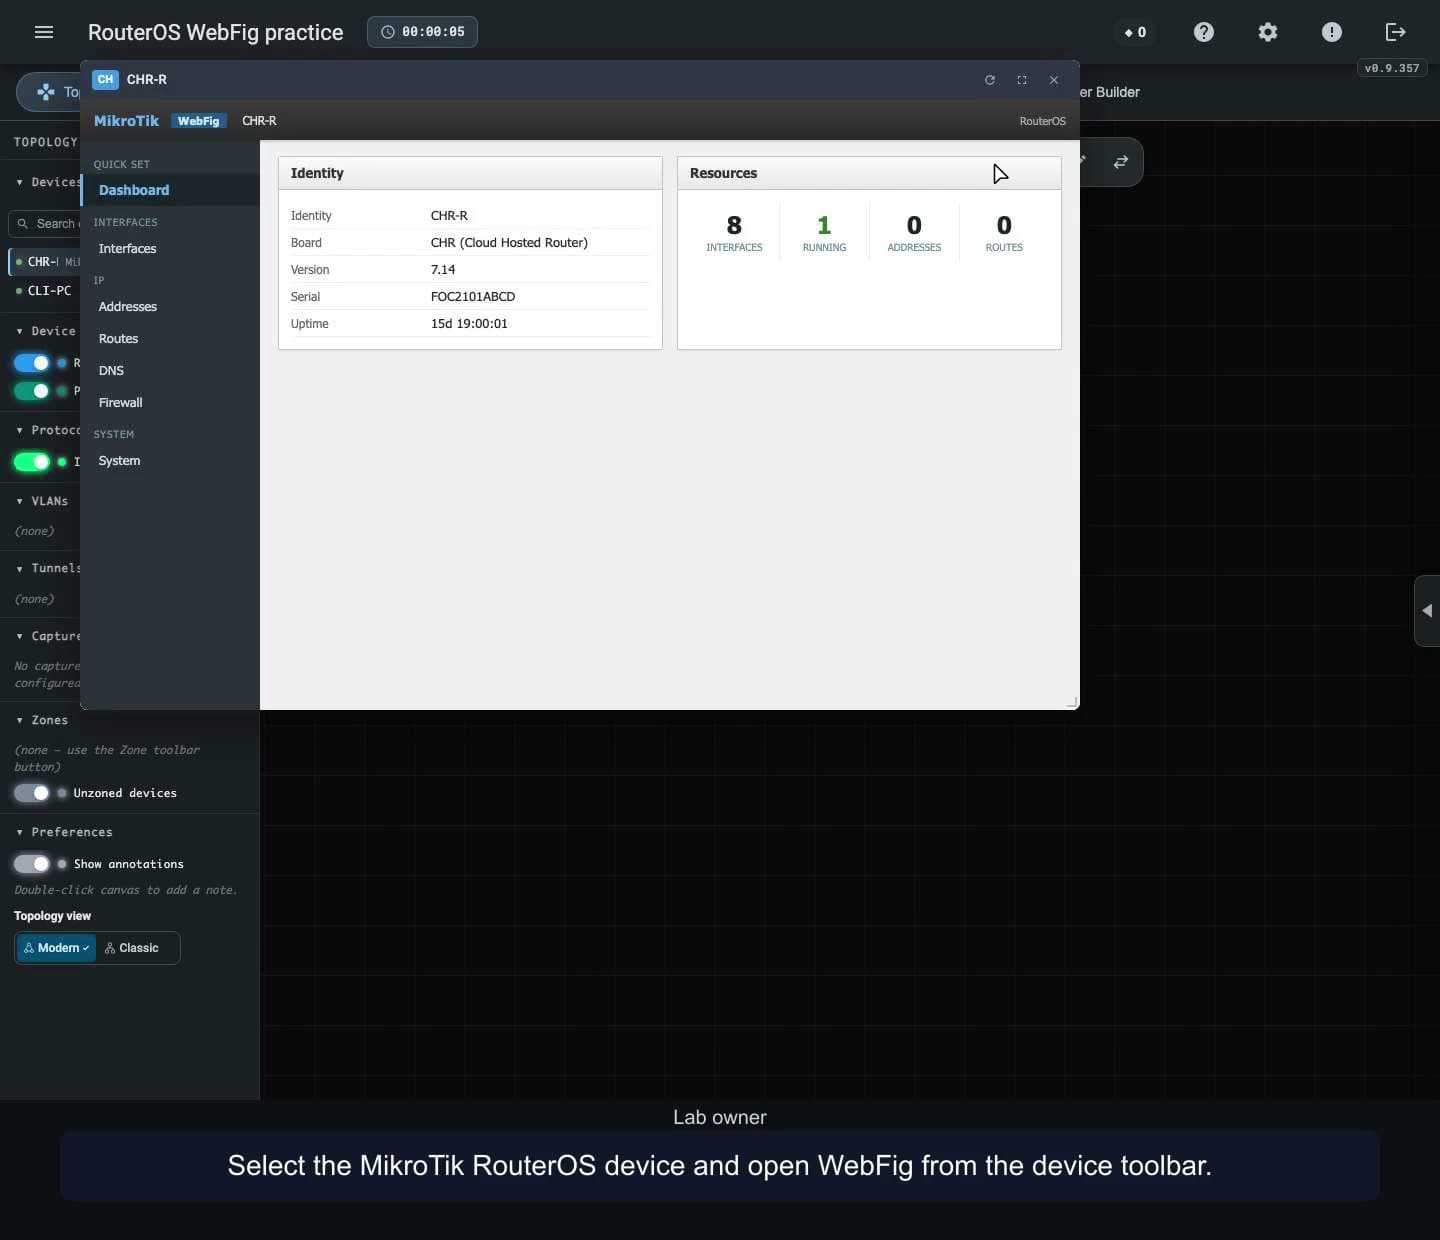
Assign an IPv4 address to a MikroTik RouterOS port in WebFig. Confirm the address in the router terminal, test connectivity from a PC, and check it after reopening the lab.
 1:22
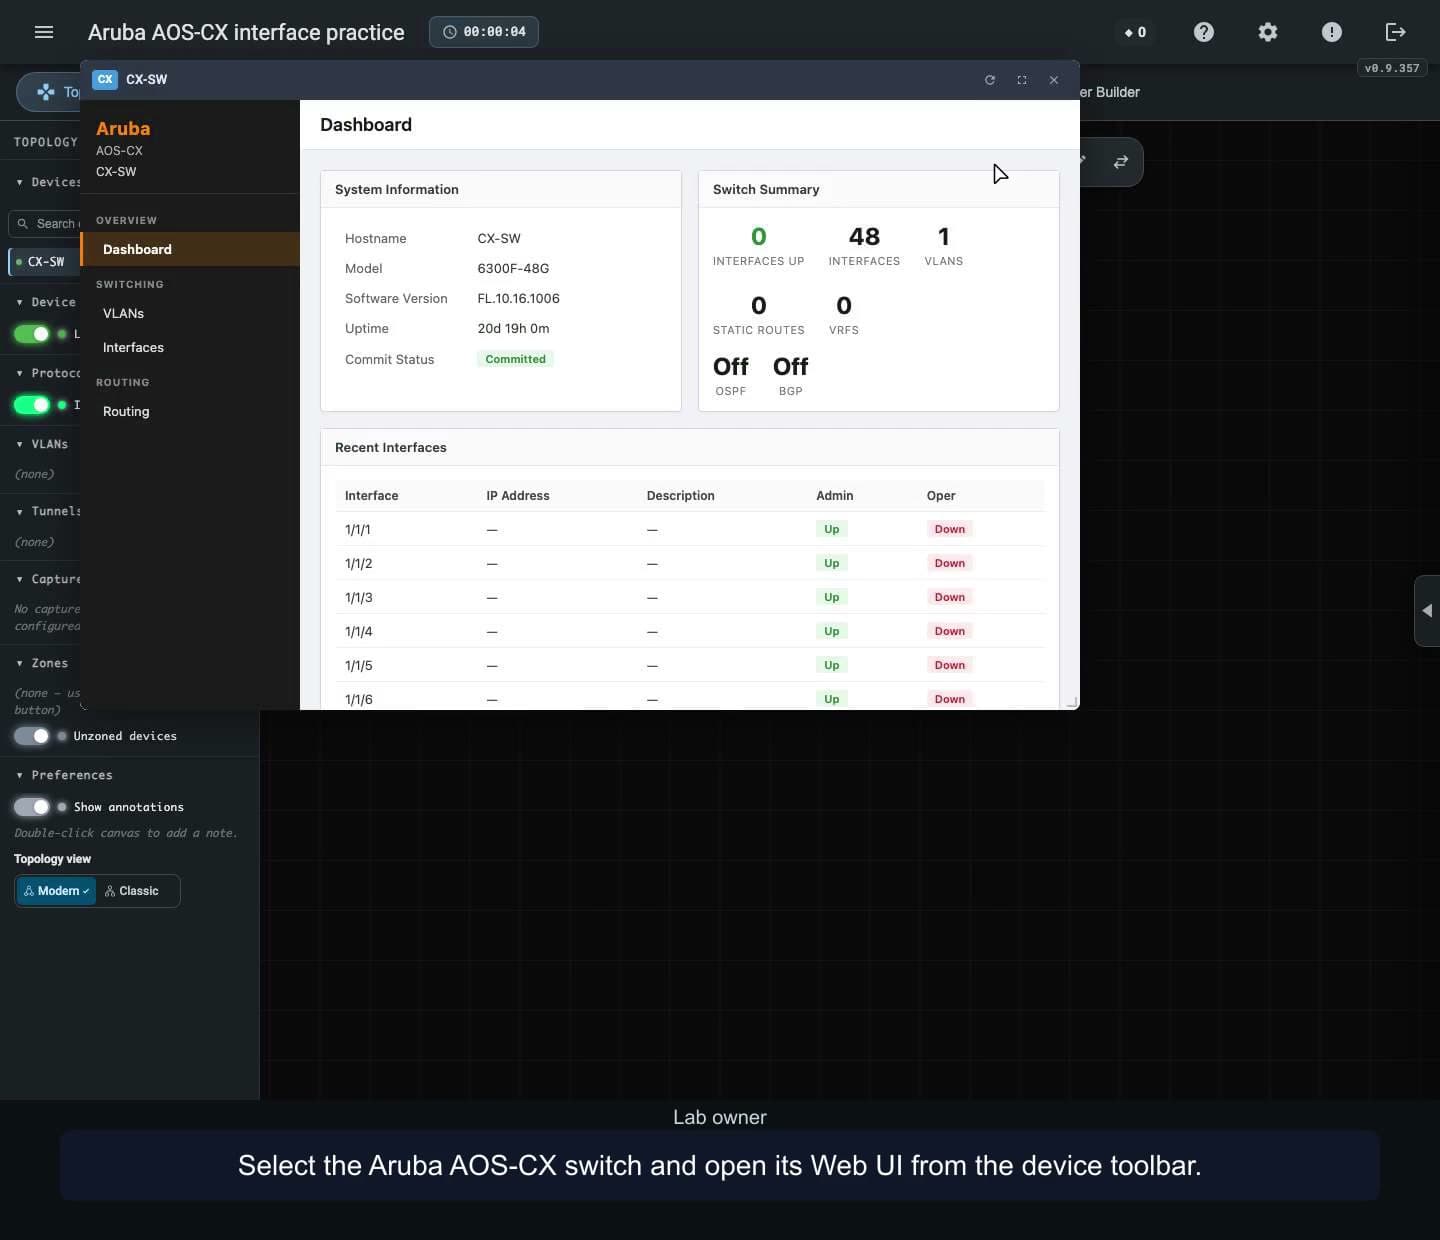
Stage an Aruba AOS-CX interface description, commit it from the Dashboard, and verify the selected port in Configs and after reopening the lab.
 1:23
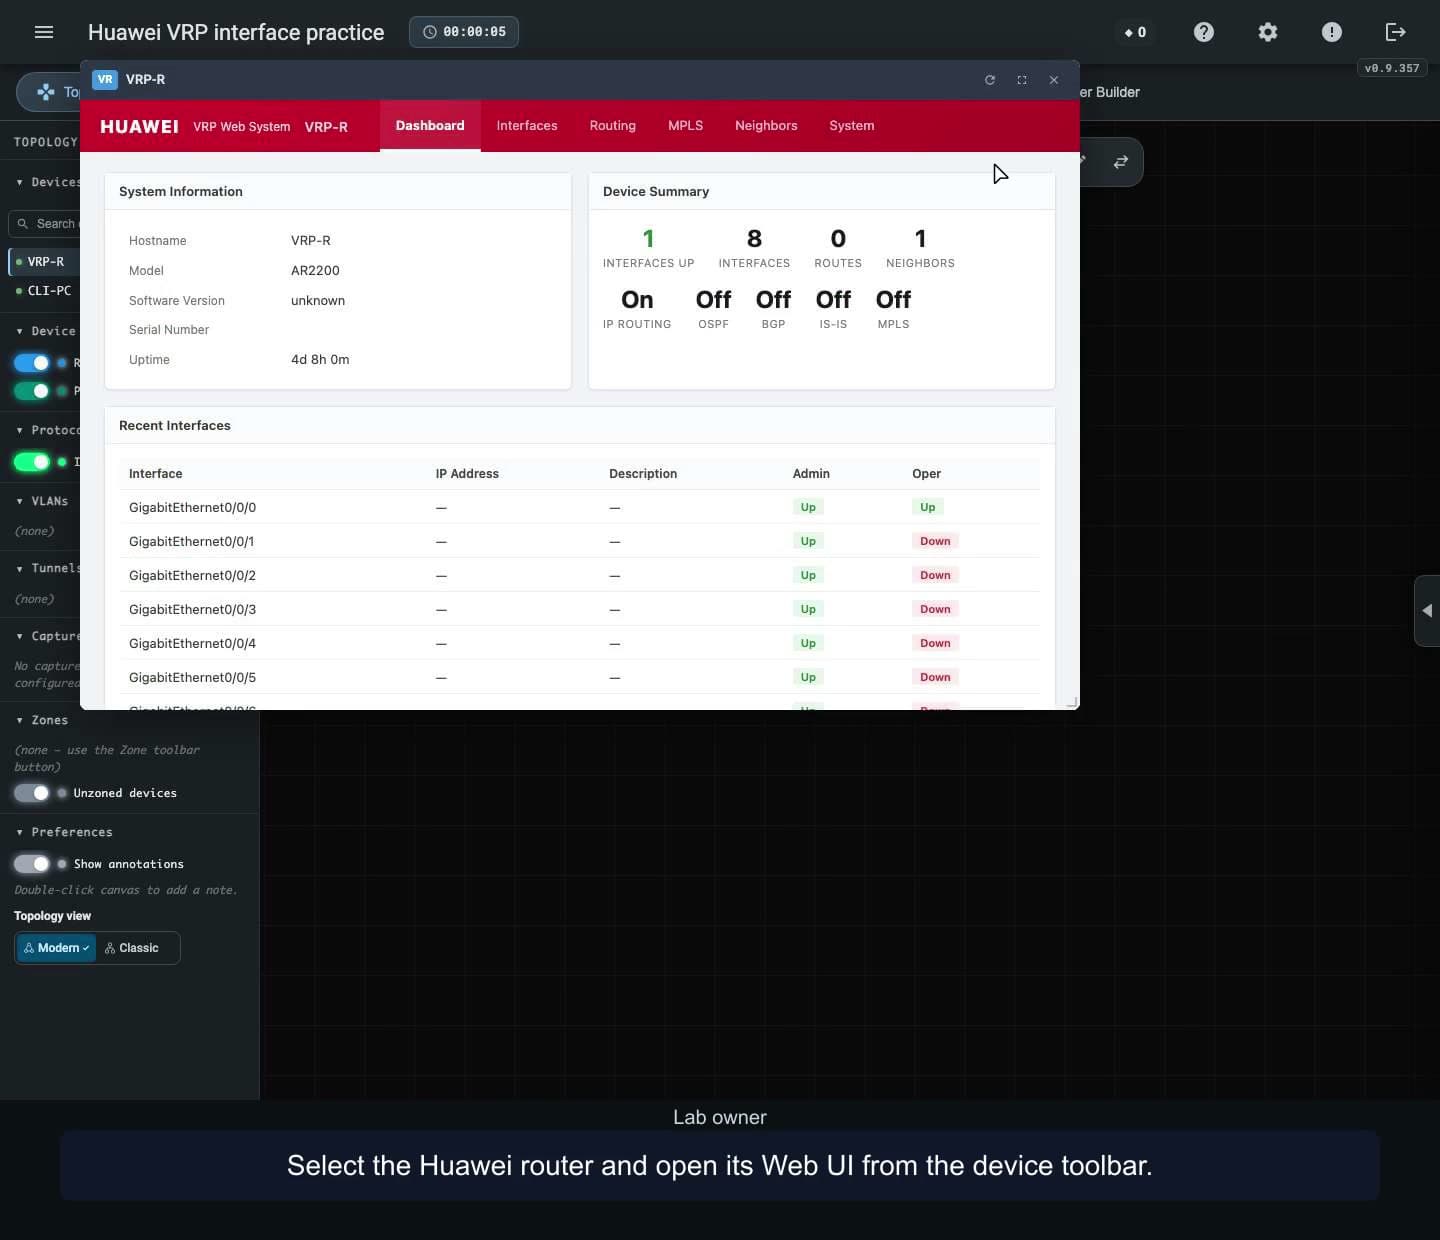
Assign an IPv4 address and description to a Huawei VRP interface in nuLAB. Verify the change in the router terminal, ping the address from a connected PC, and reopen the lab to confirm the settings.
 1:52
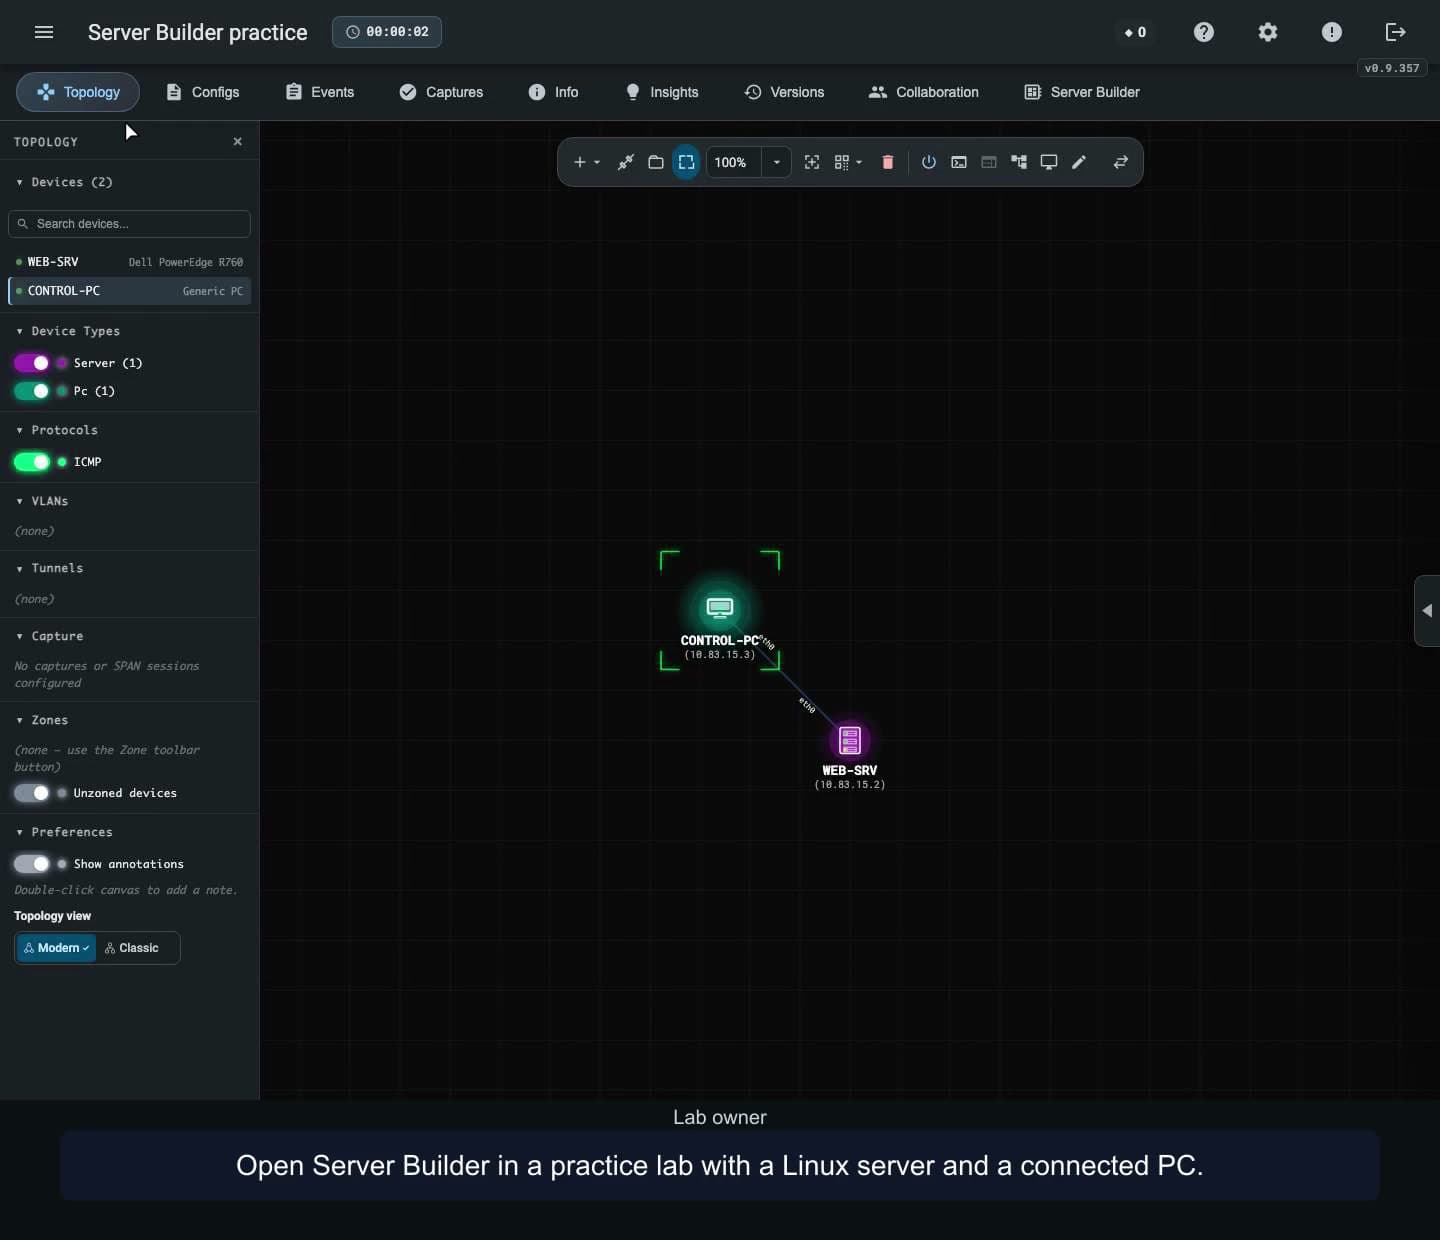
Create an HTTP design in Server Builder, apply it to a Linux server, and verify the page from a connected PC. Import the running configuration and duplicate the design to make a separate copy.
 2:12
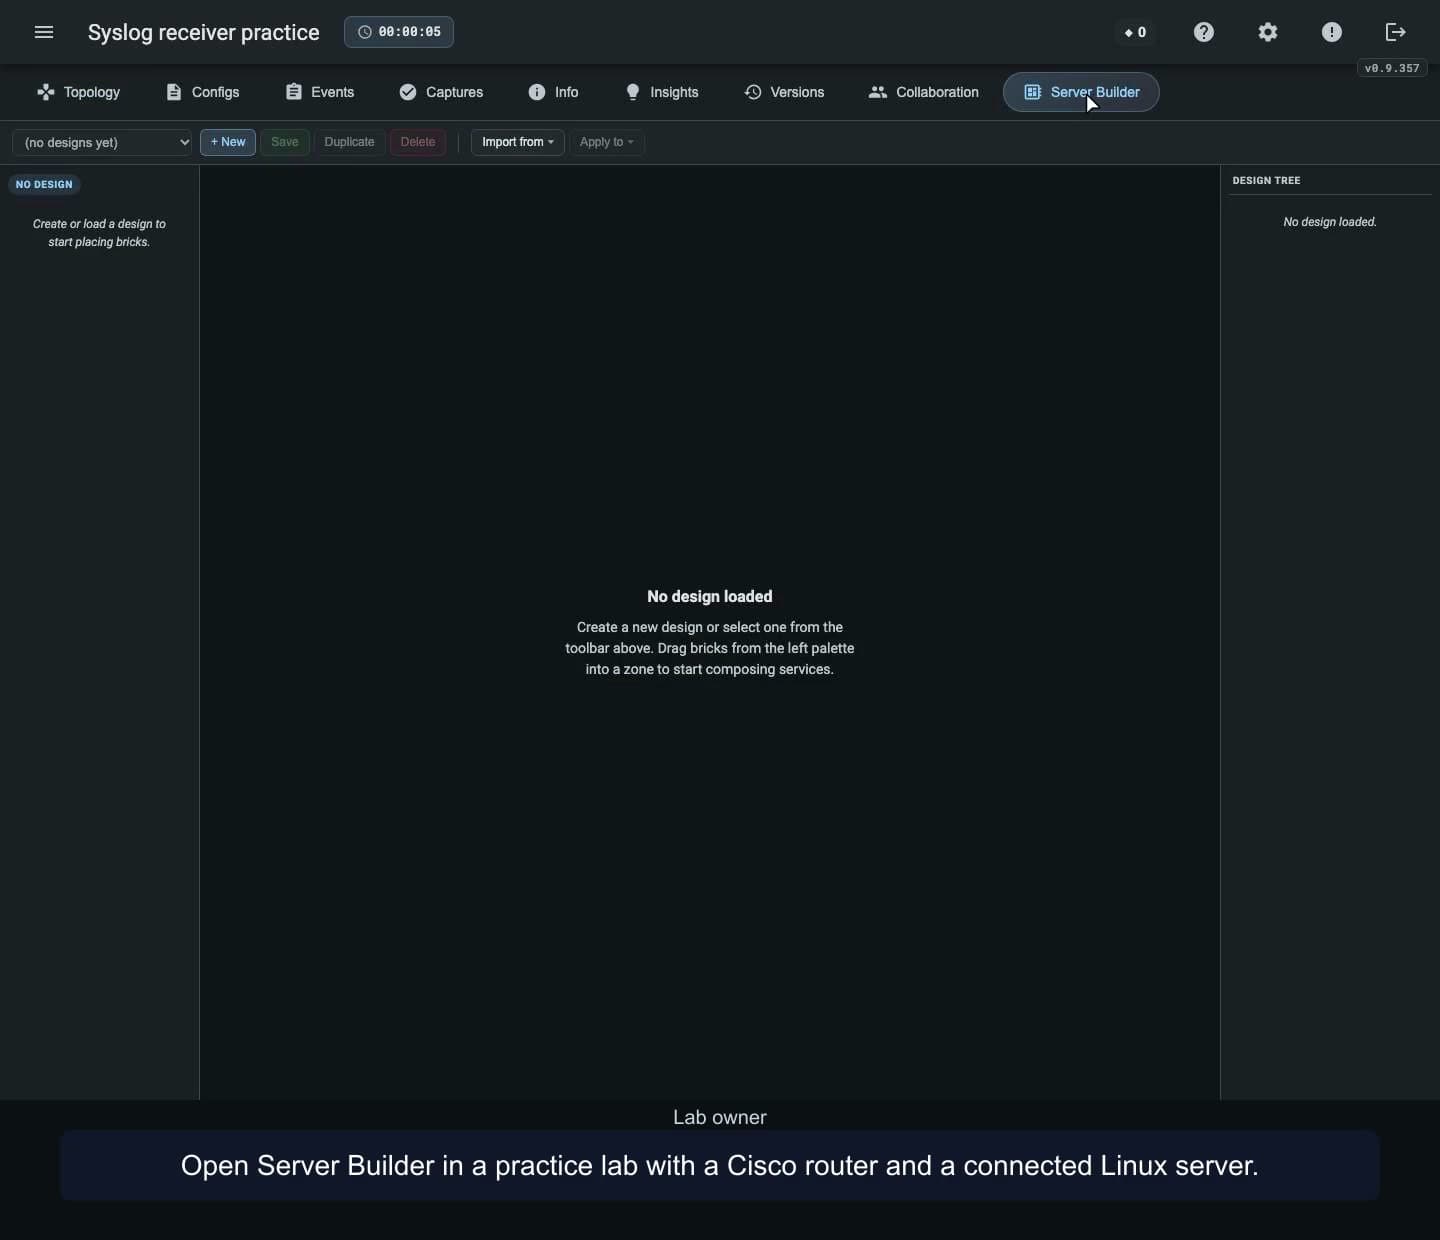
Connect a Cisco router to a Linux syslog receiver in Server Builder. Check UDP and TCP listeners, send an interface event over TCP, and verify delivery after restarting the receiver.
These tutorials use personal prepared labs, compatible active-member seats and distinct accepted accounts per UTC calendar month. Invitations do not consume monthly seats; removing a member does not refund a monthly seat. Shared Training Platform libraries and billing/grants remain deferred.
Live sharing shows topology and terminal output. Built-in audio and video are unavailable; arrange voice separately. English on-screen explanations. Watching is free; using Training Platform features needs an account and an appropriate plan.
Earlier recordings use the previous School name for the Training Platform.
Build a topology, connect devices, configure addressing and test connectivity. Arrange the canvas, add notes and zones, then reopen your saved lab. Follow each workflow using chapters and written explanations.
Watching is free. Create a nuLAB account to try the demonstrated workflow.
Find free and credit-priced Marketplace lab packs in the portal Knowledgebase. Check prerequisites, device limits and the displayed price, then install an independent lab copy. Prices and availability vary.
Watching is free. Sign in with an account that supports the selected pack to try the workflow. The free-lab demo spends zero credits; the credit-pack demo uses a labeled 20-credit listing and demo credits, with no payment checkout completed.
Capture traffic on a cable, inspect packet fields and bytes, filter the display, follow an observed path and export all or displayed frames as PCAP. Frames are reconstructed simulation observations; temporary capture buffers are not preserved by saving a lab.
Watching is free. Using Traffic capture requires a nuLAB account with Pro or above.
Identify connected neighbors and address mappings, inspect physical ports and test reachability. Follow prepared lab examples using chapters and narration transcripts. A cached address mapping alone does not prove a working link; supported syntax and behavior vary by device.
Watching is free. Create a nuLAB account with a suitable device allowance to try the demonstrated lab workflows.
Configure sensors, follow MQTT topics and inspect delivery in a prepared lab. This example uses the in-lab QoS 0 client, Sparkplug-JSON messages and a preconfigured secured broker.
Watching is free. Using IoT Operations requires a nuLAB Enterprise account and supported devices.
Read your dashboard summary, create and reopen a lab, then find Knowledgebase, Marketplace and Plan & billing. Device capacity and AI credits are separate; Time spent and Last used describe different parts of your lab activity.
Watching is free. Sign in to your nuLAB account to try the workflow. This recording uses a demonstration environment with purchasing disabled; account values and available options may differ. Signup, purchases and credit top-up are covered separately.
Use nuLAB Gateway with an external SSH terminal, save a device change and confirm it in your browser. This macOS example starts with Gateway installed and paired; installation and account approval are prerequisites.
Watching is free. Use the Gateway build for your computer and a supported lab device. Gateway account approval and the device’s own login are separate. Gateway can keep accessing the active lab after the browser closes.